
This topic explains how to add an igHtmlEditor™ to a web page.
The following table lists the topics required as a prerequisite to understanding this topic.
igHtmlEditor Overview: This topic provides an overview of the igHtmlEditor and its features.
Using Infragistics Loader: This topic explains how to manage the required resources to work with Ignite UI for jQuery using the Infragistics Loader.
This procedure takes you step-by-step toward adding an igHtmlEditor to web page.
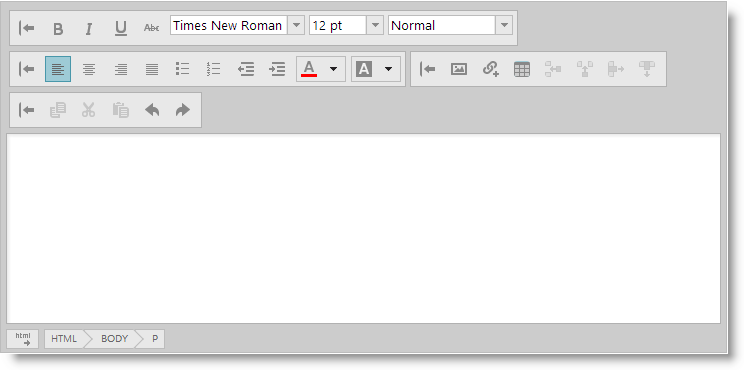
The following screenshot is a preview of the final result.
The following is a conceptual overview of the process:
1. Referencing the required JavaScript files
2. Initializing the igHtmlEditor in JavaScript
3. (Optional) Initializing the igHtmlEditor in an ASP.NET MVC Razor View
The following steps demonstrate how to add the igHtmlEditor to a web page.
Reference the required JavaScript files.
Include the required JavaScript references
In HTML:
 <script src="js/jquery.min.js"></script>
 <script src="js/jquery-ui.min.js"></script>
 <script src="js/infragistics.loader.js"></script>
Initialize the igHtmlEditor in JavaScript.
If you are using Infragistics Ignite UI for MVC then you should instantiate igHtmlEditor in ASP.NET MVC View as shown in step 3.
Define the HTML placeholder for the editor
In HTML:
<div id="htmlEditor"></div>
Initialize the Infragistics Loader
In JavaScript:
 $.ig.loader({
     scriptPath: 'js',
     cssPath: 'css',
     resources: 'igHtmlEditor'
 });
Note: The Infragistics loader is a quick and efficient way to reference the required files. However, you can reference them manually. For more information, see the "Using JavaScript Resouces in Ignite UI for jQuery" topic in the Related Content section.
Initialize the igHtmlEditor
In JavaScript:
 $.ig.loader(function () {
     $('#htmlEditor').igHtmlEditor({inputName: "Post"});
 });
(Optional) Initialize the igHtmlEditor in an ASP.NET MVC Razor View.
This example demonstrates how to initialize the igHtmlEditor in an ASP.NET MVC Application using the Infragistics loader.
Initialize the Infragistics Loader
In C#:
@(Html.Infragistics().Loader().ScriptPath(Url.Content ("js")).CssPath(Url.Content("css")).Render())
The Resources method invocation is not required when using the Ignite UI for MVC Loader because the loader infers which resources to include based off of the other Ignite UI for MVC helpers used in a given View. This is only valid if the Ignite UI for jQuery controls are also instantiated with Ignite UI for MVC.
Initialize the igHtmlEditor
In C#:
@Html.Infragistics().HtmlEditor().ID("igHtmlEditor").Render()
The following topics provide additional information related to this topic.
Working with the igHtmlEditor: This is a group of topics explaining how to configure the igHtmlEditor and manage it programmatically.
Styling and Theming (igHtmlEditor): This topic explains, with code examples, how to customize the look-and-feel of the igHtmlEditor.
Using JavaScript Resources in Ignite UI for jQuery: This topic explains how to manage the required resources to work with the Ignite UI for jQuery within a Web application.
The following samples provide additional information related to this topic.
Edit Content: In this forum post example, an initial piece of content provided in the HTML Editor.
Custom Toolbars and Buttons: This sample demonstrates how the HtmlEditor control works as an email client. This implementation features a custom toolbar where you can add a signature to the message.
View on GitHub